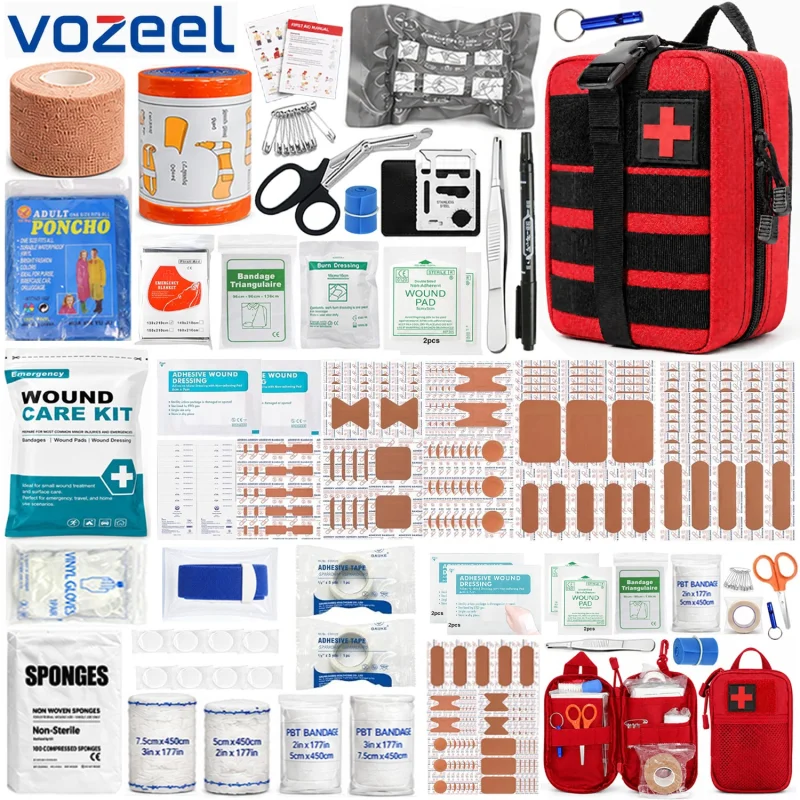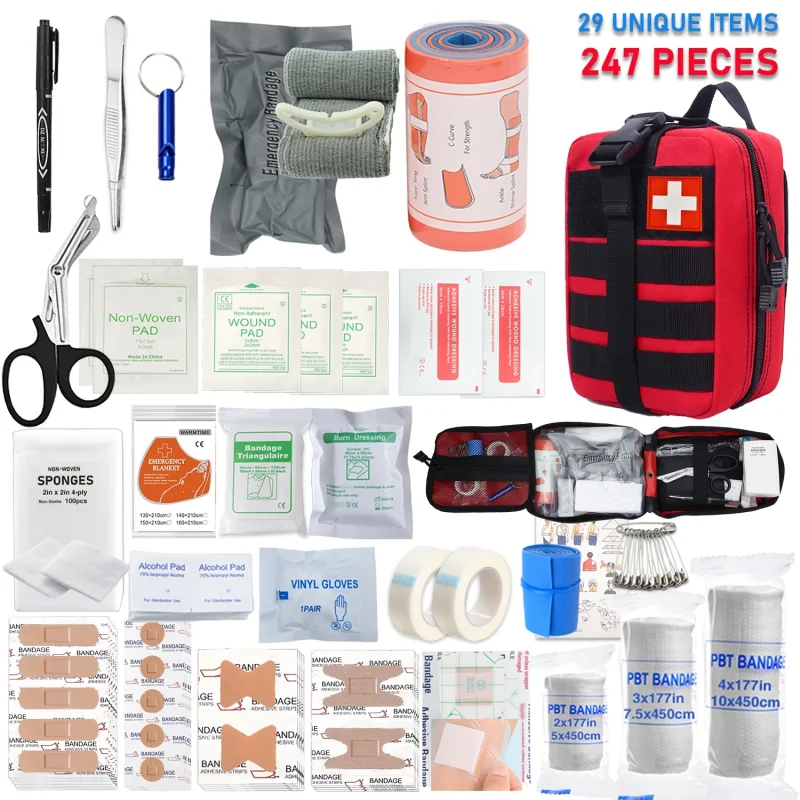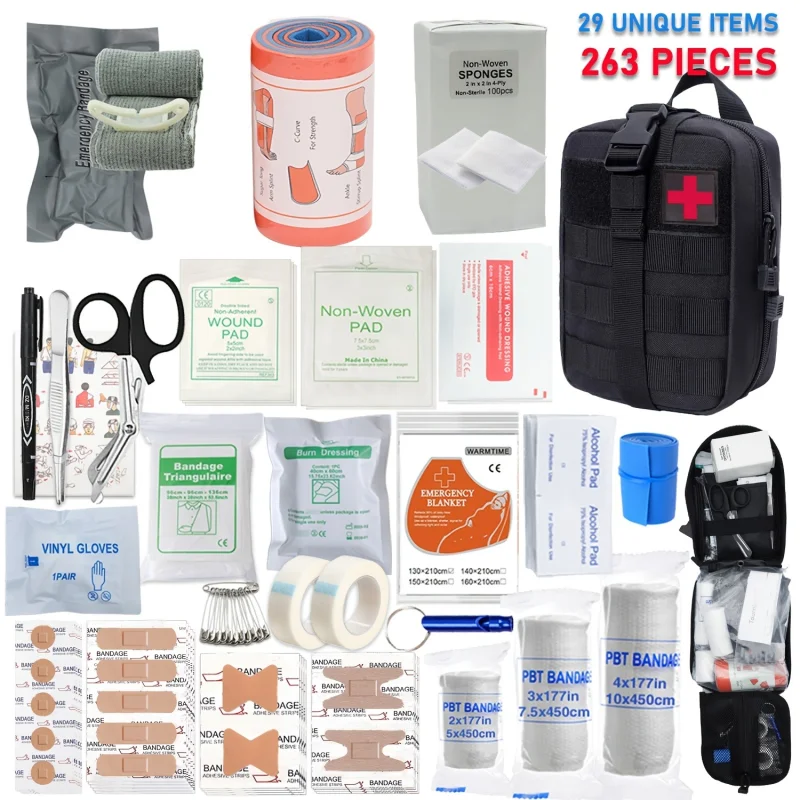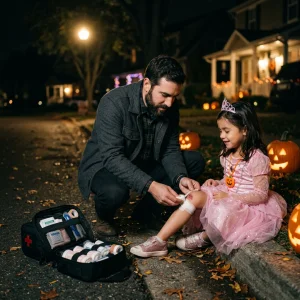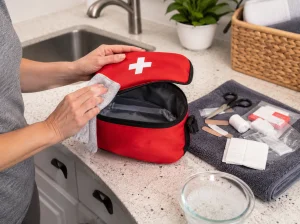
A first aid bag tells a story. And often, that story is etched in dust, dirt, and stains.
There's the fine grit from the car floorboards. The mud caked on after a camping trip. The beach sand stubbornly clinging to every seam. And that one mystery splotch—the one no one ever claims.
Eventually, your trusty bag starts looking less like a critical piece of safety gear and more like a battle-hardened veteran, whispering:
“Believe me, I’ve seen things.”
At this point, a natural question arises: can you wash a first aid bag, or will a good cleaning ruin the fabric, compromise compartments, damage straps, or even affect the supplies inside?
The answer, like most things, depends. Specifically, it depends on the bag’s care label and how it's constructed. Some pouches handle a gentle hand wash just fine. Others demand a more delicate touch—a simple wipe-down or spot-clean only.
However, one rule applies universally to almost every kit:
Before you do anything else, empty the bag completely. Every single supply.
Step One: Clear Out Every Nook and Cranny
Don't even think about soap and water until the bag is utterly bare. We mean everything.
That includes adhesive bandages, gauze pads, antiseptic wipes, gloves, medical tape, scissors, cold packs, instruction manuals, and anything else tucked into mesh pockets or threaded through elastic loops.
First aid bags are notoriously good at stashing one tiny packet in a forgotten corner, then silently ambushing you with:
“Surprise! You almost left me behind.”
As you remove each item, take a moment to inspect its packaging for:
- Any signs of moisture or water infiltration
- Torn or compromised seals
- Leaking packets or tubes
- Soft, warped, or stained paper packaging
- Expired dates or illegible labels
Resist the urge to simply wipe down damaged supplies and put them back. Just because the outside of the bag is clean doesn't mean the contents are still safe. Always defer to the product label. Replace anything whose seal is broken or whose condition can no longer be verified.
Consult the Care Label Before Washing
When wondering how to clean a first aid kit bag, your best and most reliable guide is almost always the manufacturer's care label.
Bags are made from diverse materials: coated fabrics, nylon, polyester, clear plastic pockets, elastic loops, hook-and-loop panels, foam padding, and reinforced stitching. A cleaning method perfectly suitable for a basic fabric pouch could utterly ruin a structured or specialized bag.
If the label explicitly states “wipe clean” or “spot clean only,” then do not, under any circumstances, turn it into a full-blown laundry project.
For dust, light mud, or surface marks, a damp cloth with a small amount of mild soap is usually all you need.
If gentle hand-washing is permitted, use cool or lukewarm water. Crucially, avoid aggressive scrubbing, twisting, or wringing. This isn't a wrestling match.
Your first aid pouch is dirty. That's all. It's not training for the Extreme Laundry Challenge.
How to Spot-Clean a First Aid Bag
For the vast majority of bags, spot-cleaning offers the simplest and safest approach.
- Start by shaking or brushing off any loose dirt or debris.
- Mix a small amount of mild soap with water.
- Using a soft cloth or sponge, gently clean the affected areas.
- Wipe away any soap residue with a separate, clean, damp cloth.
- Open all compartments and allow the bag to air-dry completely.
Unless the care instructions specifically permit it, do not soak the bag.
Steer clear of bleach, harsh solvents, or heavily scented cleaners. These aggressive products can compromise fabric color, coatings, plastic windows, elastic components, or stitching, unless the manufacturer has explicitly stated they are safe.
What About Cleaning a MOLLE First Aid Bag?
Cleaning a MOLLE first aid bag can demand a bit more patience. Dust and dried mud have a knack for getting trapped underneath the webbing, clinging tenaciously.
Begin with a soft brush to dislodge dirt from the straps, seams, and attachment points. Be gentle; don't attack the webbing as if it personally offended you.
For any stubborn marks, use a damp cloth or a soft brush with mild soapy water, always adhering to the care label's guidelines.
Pay special attention to the zipper tracks. Dirt and sand are notorious for jamming zippers, so carefully remove any loose debris before you start yanking them back and forth.
Otherwise, your zipper might just decide:
“Nope. Not today.”
Once clean, meticulously inspect the MOLLE webbing, buckles, hook-and-loop panels, and attachment straps for any signs of loose stitching or damage.
Can You Toss a First Aid Pouch in the Washing Machine?
Unless the manufacturer's label gives explicit permission, a washing machine is a definite no-go for a first aid pouch.
The intense agitation of a machine wash can bend internal panels, crack transparent pockets, weaken protective coatings, stretch elastic loops out of shape, or deform padded sections.
Even if the outer material seems indestructible, the internal structure of the bag likely won't appreciate being tumbled with your towels for forty minutes.
If you're unsure whether you can wash first aid pouch materials in a machine, always err on the side of caution. Opt for the gentler methods: spot-cleaning or careful hand-washing.
How to Hand-Wash the Bag Safely
If the care label explicitly allows hand-washing, maintain a gentle approach throughout the process:
- Use cool or lukewarm water.
- Choose a mild, non-aggressive cleaner.
- Gently clean soiled areas with a soft cloth or brush.
- Absolutely avoid forcefully twisting or wringing the bag.
- Rinse thoroughly to remove all cleaner without leaving heavy soap residue.
Do not let the bag soak longer than necessary. Extended immersion can affect coatings, padding, labels, or reinforced sections, depending on the bag's specific design.
Ensure the Bag is Bone-Dry Before Repacking
This is the step most people are tempted to rush.
The exterior feels dry, so naturally, everything goes back in. But meanwhile, the lining and bottom seams could still be harboring moisture, silently inviting mold and mildew.
After cleaning a dirty first aid kit bag, open every zipper, flap, mesh pocket, and compartment. Place the empty bag in a shaded, well-ventilated area, and allow it to air-dry completely—and we mean completely.
Avoid high heat unless the care label specifically permits it. Hot dryers, direct heaters, or close-range, high-temperature blow-drying can damage coatings, warp plastic compartments, degrade elastic straps, or distort the bag's overall shape.
Before repacking, conduct a thorough check of:
- The exterior fabric
- The bottom panel
- The inner lining
- All mesh pockets
- Zipper seams
- Elastic loops and folded corners
If any area still feels cool, damp, or smells remotely musty, give it more time. The bag doesn't earn bonus points for drying quickly.
Inspect the Bag Before Restocking Supplies
Effective first aid pouch care extends beyond just removing visible grime.
Once the bag is clean and fully dry, inspect its working components:
- Do all zippers open and close smoothly without snagging?
- Are the seams and handles still securely attached and intact?
- Are the elastic loops still taut, or are they stretched or damaged?
- Are the transparent pockets free of cracks or brittleness?
- Do the buckles and MOLLE straps still function correctly and securely?
- Can the bag close easily without having to force the zipper?
Finally, double-check all medical supplies one last time before returning them to the bag. Ensure individually wrapped products are sealed, replace any damaged packages, and discard expired items.
A pristine bag, after all, is hardly useful if the gauze inside is damp and the adhesive bandages have lost their stick.
Keep the Bag Cleaner Between Deep Cleans
You shouldn't need to deep-clean the entire bag every time it encounters a little dust. Routine maintenance goes a long way:
- Wipe down the exterior after any outdoor use.
- Regularly brush dirt from MOLLE straps and zipper tracks.
- Allow the bag to air out thoroughly after damp trips or exposure to humidity.
- Keep it away from leaking liquids or potential spills.
- Always check the bottom of the bag before placing it back in your vehicle or storage cabinet.
A few minutes of basic care can prevent your bag from ever reaching the point where it looks like it completed an obstacle course without you.
Final Takeaway
So, can you wash a first aid bag?
Sometimes. But the care label has the final say.
For a generally safe process, remember these steps:
Empty it completely.
Consult the care instructions.
Clean it gently.
Allow it to dry thoroughly.
Inspect both the bag and its contents before restocking.
A first aid bag exists to solve small problems. It shouldn't become a damp, muddy problem all its own.
FAQ
Q1: Can I put a first aid bag in the washing machine?
Only if the manufacturer’s care label explicitly permits machine washing. Bags with specialized coatings, plastic compartments, elastic loops, padding, or MOLLE webbing are generally better suited for spot-cleaning or gentle hand-washing.
Q2: Should I remove every supply before cleaning the bag?
Yes, absolutely. Empty every single compartment, mesh pocket, and elastic loop before cleaning. This protects your medical supplies and provides an opportunity to inspect their packaging for moisture, tears, leaks, or other damage.
Q3: What cleaner should I use on a first aid pouch?
A small amount of mild soap is typically appropriate for spot-cleaning. However, always defer to the bag’s specific care instructions. Avoid bleach and harsh solvents unless the manufacturer has confirmed their safety for the material.
Q4: How should I dry a first aid kit bag?
Open all compartments and allow the empty bag to air-dry in a shaded, well-ventilated area. Do not repack supplies until the lining, seams, pockets, and bottom panel are completely and demonstrably dry.
Q5: Can I use a hair dryer to dry the pouch?
High heat is generally not recommended, as it can damage coatings, elastic components, plastic pockets, or alter the bag's shape. Gentle airflow or cool air might be used cautiously if appropriate, but natural air-drying remains the safest option.
Q6: What should I do if the medical supplies became wet?
Inspect each package individually. Any supplies with torn seals, visible internal moisture, leaks, or damaged packaging should be evaluated according to their product labels and replaced if their condition cannot be confidently verified.
Q7: How often should I clean a first aid bag?
There isn't a fixed schedule applicable to all bags.